Heywood
The platform and station building are still in place at Heywood although in a disused condition.
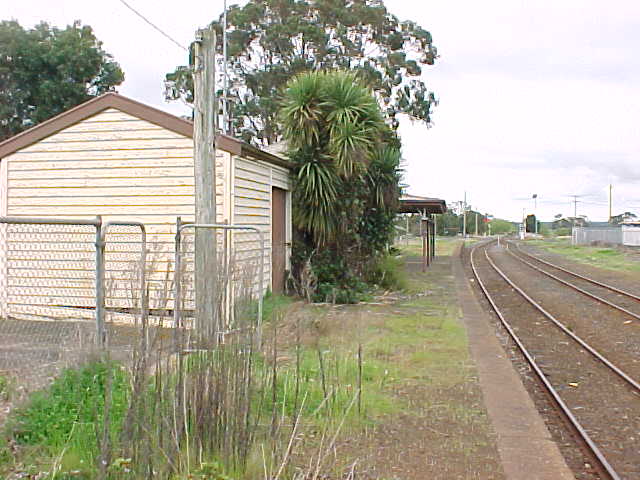
Some of the former yard remains as unconnected BG track with power connections also provided to a work camp area.
Photos
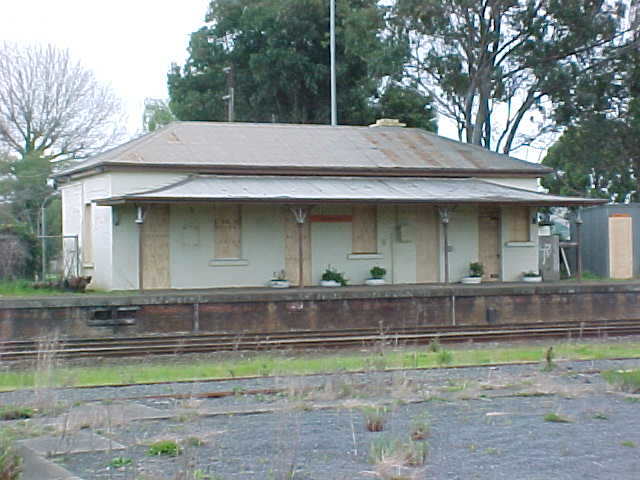
Heywood Station building as viewed from yard
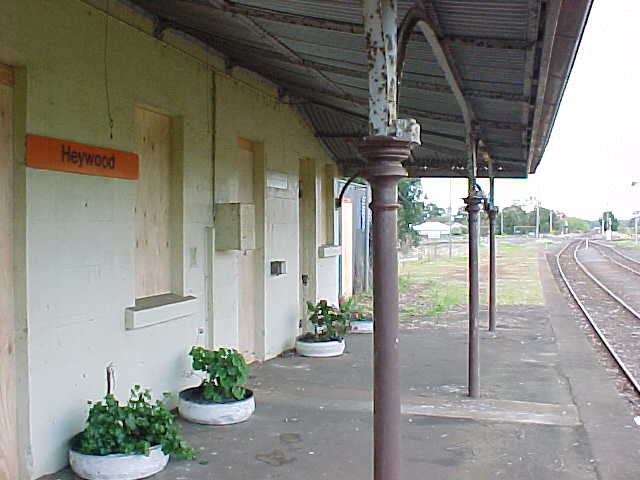
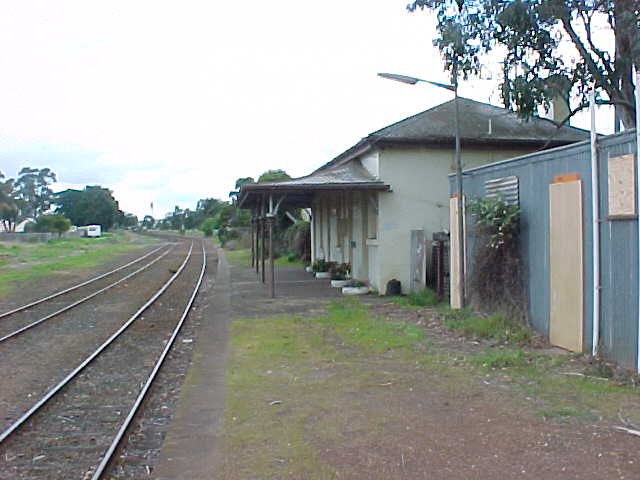
Heywood platform beneath canopy looking UP
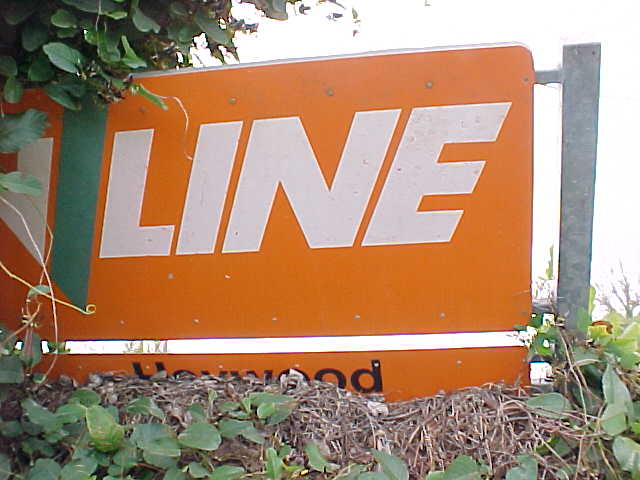
Heywood Station sign
Heywood platform looking UP from DOWN end
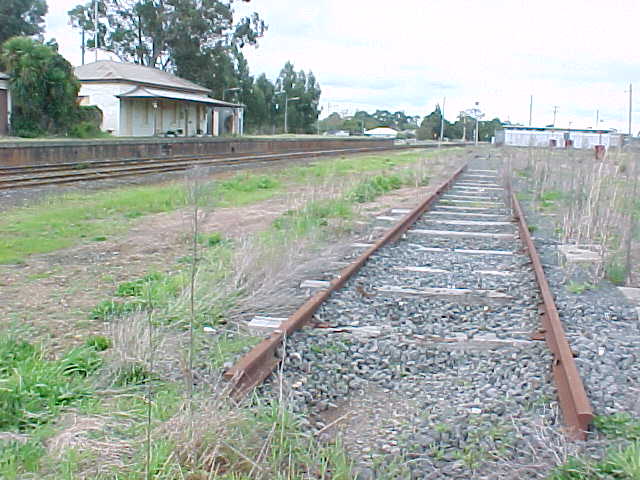
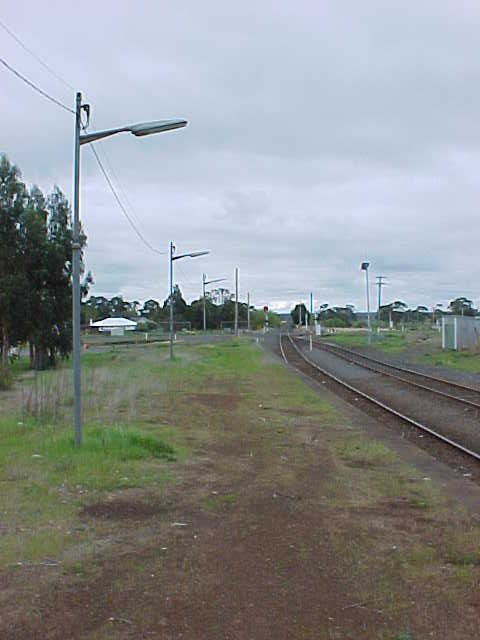
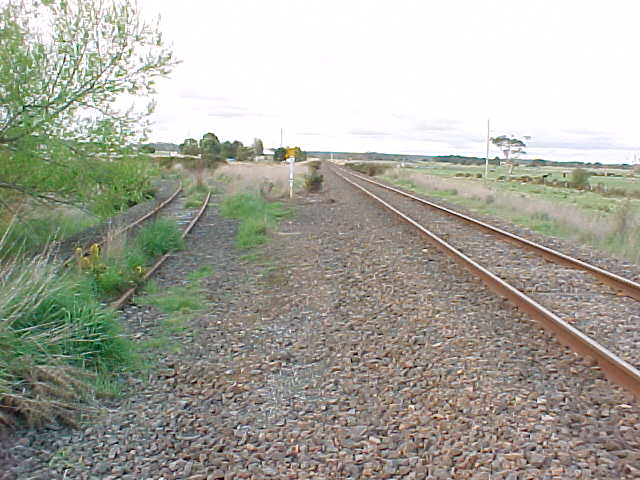
Heywood yard track looking UP
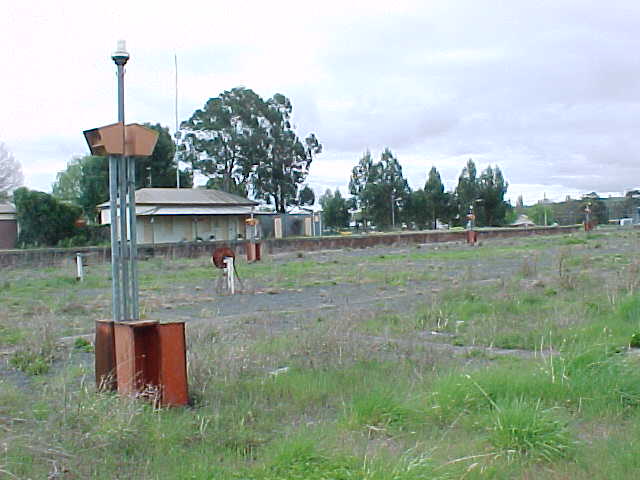
Work camp area looking towards platform
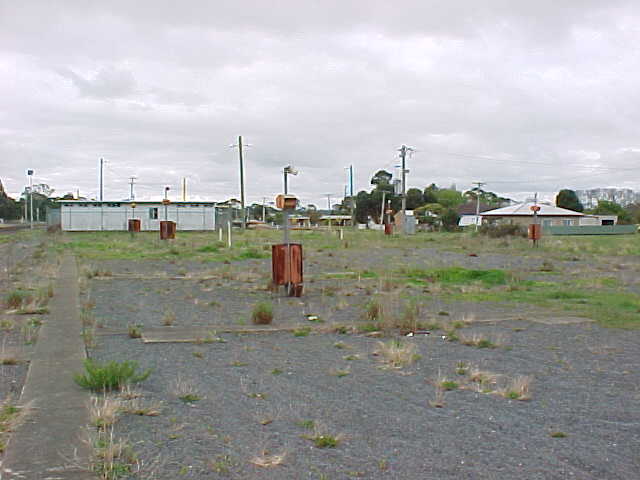
Work camp area looking UP

UP end of platform looking UP
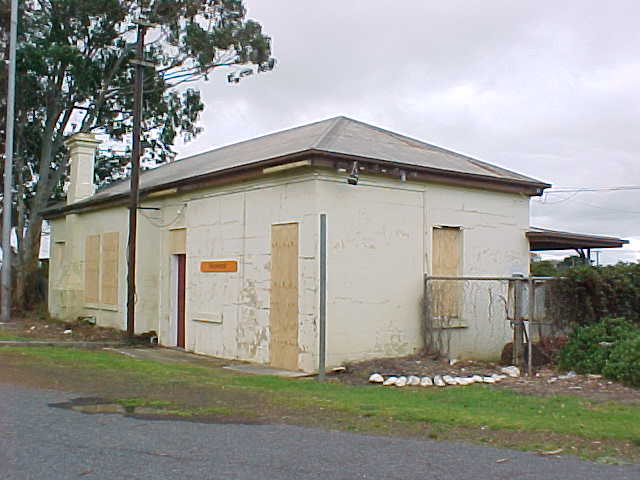
Front of station building looking UP
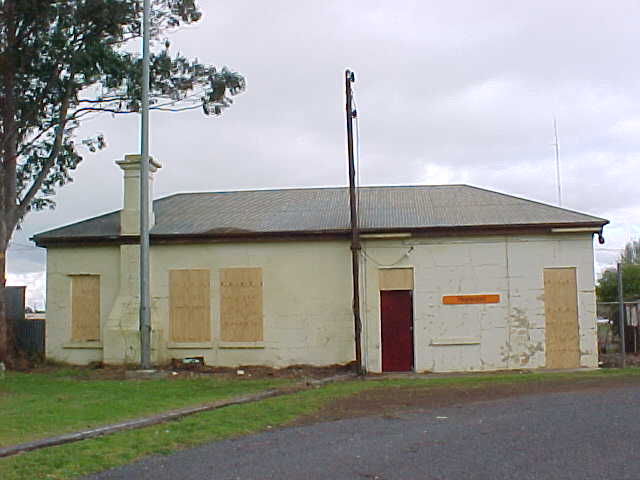
Front of station building
Heywood platform looking UP
Heywood platform looking DOWN
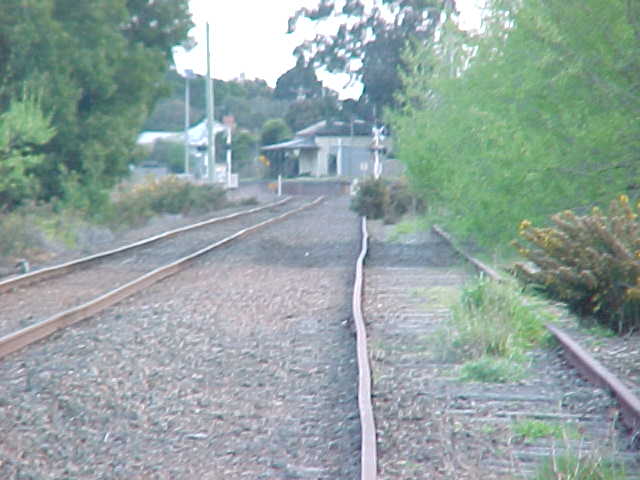
Looking towards station from junction with Mount Gambier Line at UP end
Looking at former junction with Mount Gambier Line at UP end of station
Next Station
UP
DOWN (Portland Line)
DOWN (Mount Gambier Line)
Portland Line