Bairnsdale
Bairnsdale Station is not currently utilised by freight or passenger trains with current freight operation terminating at the log loading facility at Bosworth Road.
The wagons shown in the freight siding have remained at the station unused for a number of years.
Passenger services are soon to be restored to Bairnsdale Station later in 2003.
A large station building, carpark, new bus interchange, freight shed, shelter and footbridge are all located at this station.
Photos

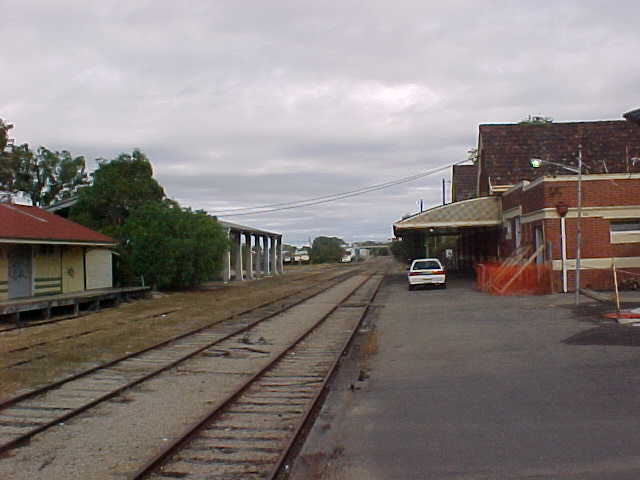
Bairnsdale Station looking Up

Bairnsdale Station looking Down

Bairnsdale platform looking Down

Bairnsdale goods shed looking Up

Looking Down from Down end of station

Bairnsdale Station loooking Down from McCulloch St crossing

Bairnsdale Station loooking Up from Down end of platform

Bairnsdale Station loooking Down from Up end of platform

Bairnsdale Station loooking Down

Looking Up from Up end of station

Louvre vans stored in former freight gate

New bus interchange at front of station

Front of station prior to construction of bus interchange
Looking Up from Down end of platform

Former Service Road level crossing at Down end of station

Up end of Mitchell River Bridge

Down end of Mitchell River Bridge

Up end of Mitchell River Bridge

Mitchell River Bridge looking Down

Mitchell River Bridge looking Up

Down end of Mitchell River Bridge

Down end of Mitchell River Bridge

Fomer Bailey St level crossing

Former Bailey St level crossing looking UP towards station

Former Bailey St level crossing looking DOWN

Service Rd level crossing

Service Rd level crossing looking DOWN

Service Rd level crossing looking DOWN closeup

Pedestrian maze on UP side of Service Rd level crossing

Looking in UP direction towards Service Rd level crossing

Looking in UP direction towards Service Rd level crossing closeup

Looking in DOWN direction from Service Rd level crossing
Next Station
UP
DOWN
Orbost Line