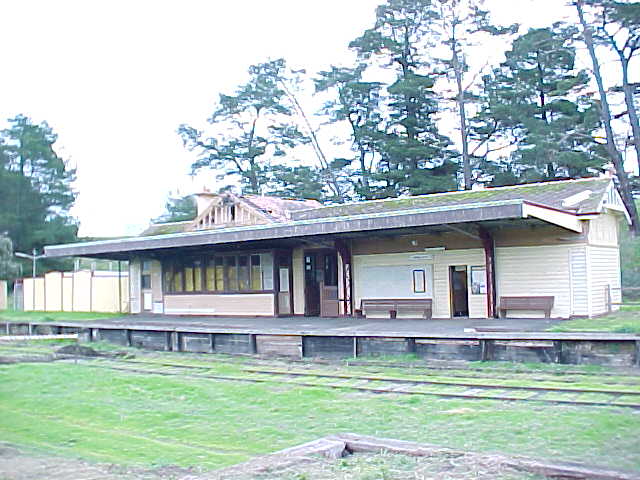
Yarra Glen
Yarra Glen platform
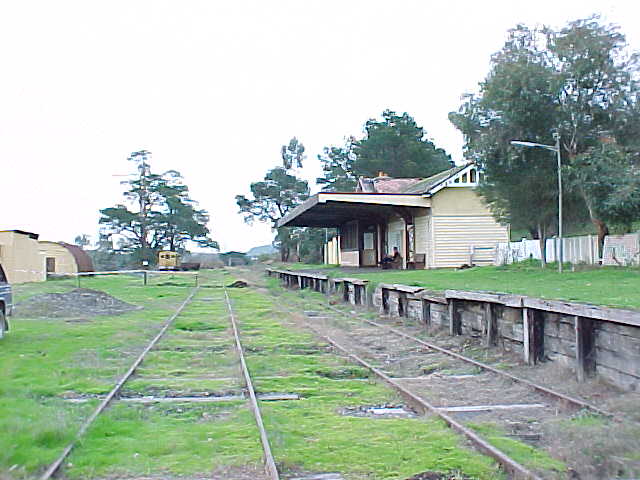
Yarra Glen looking towards Yering
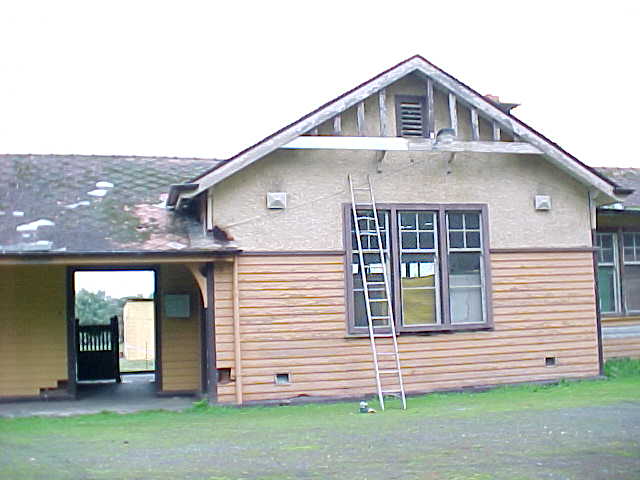
Yarra Glen station entrance close up
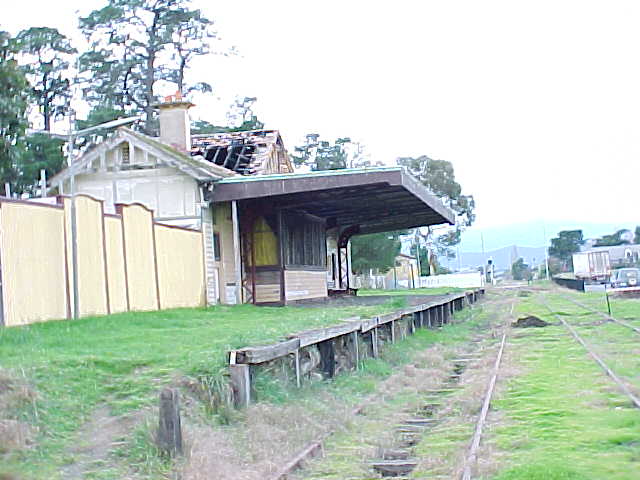
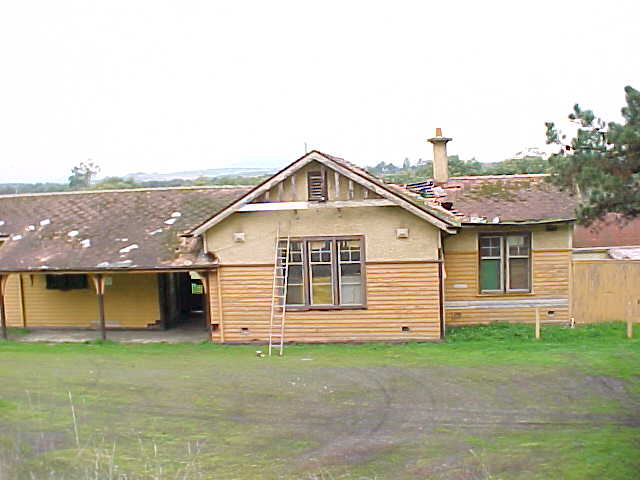
Yarra Glen looking towards Tarrawarra
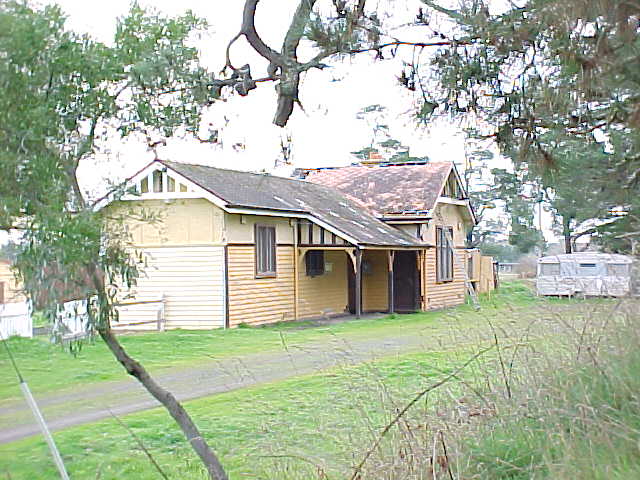
Yarra Glen station building
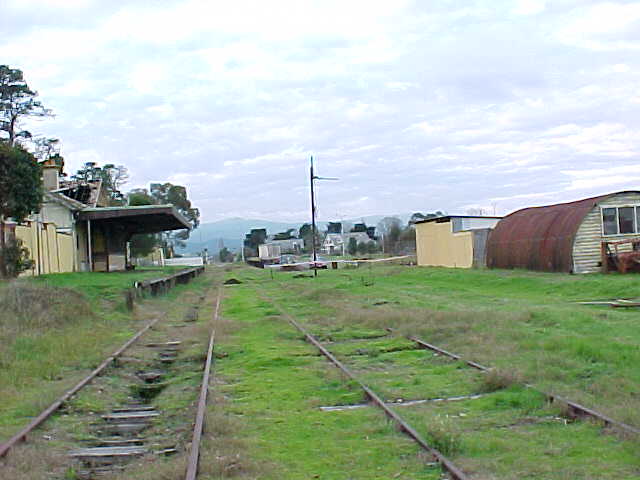
Yarra Glen yard from UP end
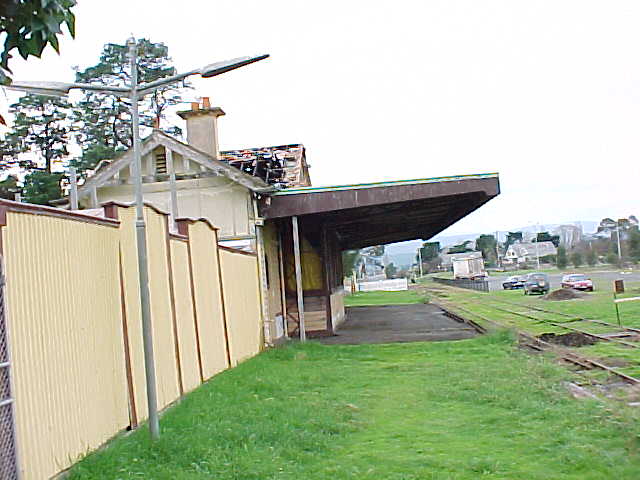
Yarra Glen platform from UP end
Yarra Glen station entrance
Next Station
UP
DOWN
Healesville Line