Camberwell
Camberwell Station is an important station on the Healesville Line and forms the junction of the line to Alamein.
The station contains 3 platforms and is fully staffed with substantial brick buildings. The station contains a number of sidings which are now used to stable electric trains.
There have been recent proposal to redevelop the station area and construct shops above the railway tracks.
Photos
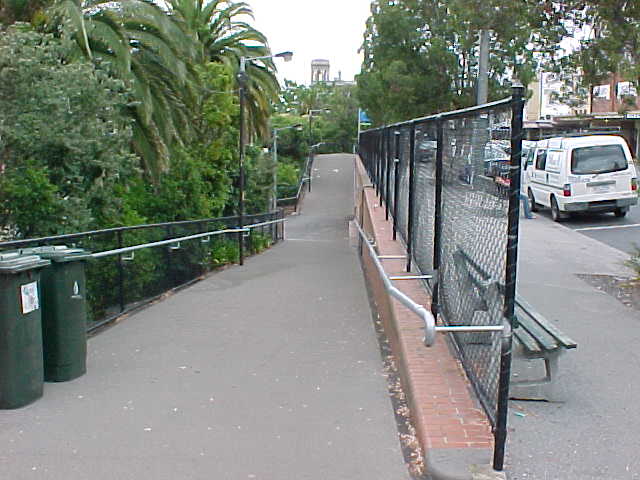
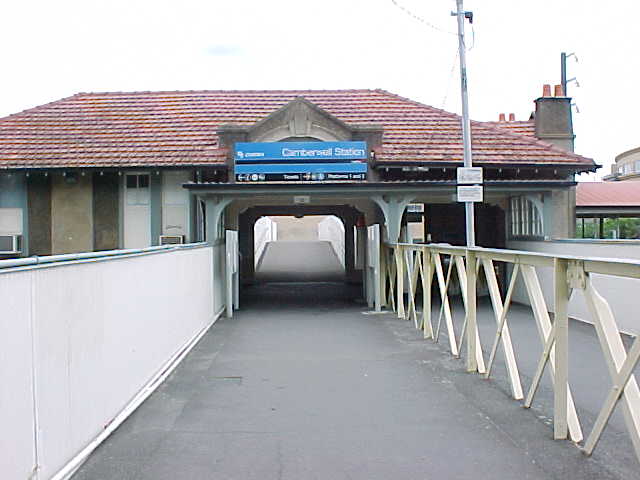
Cookson Street entrance to Station looking UP
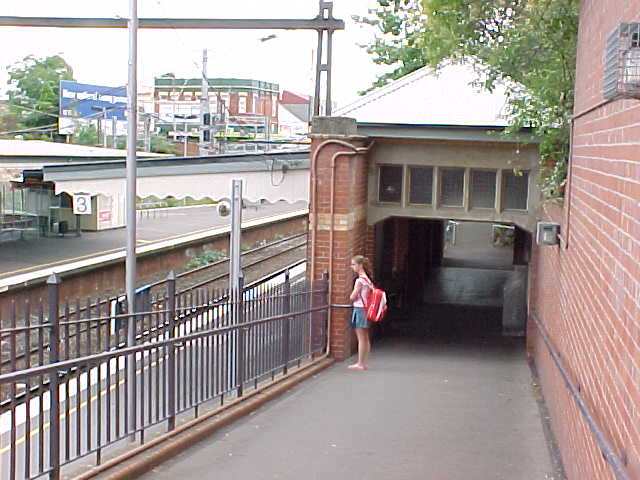
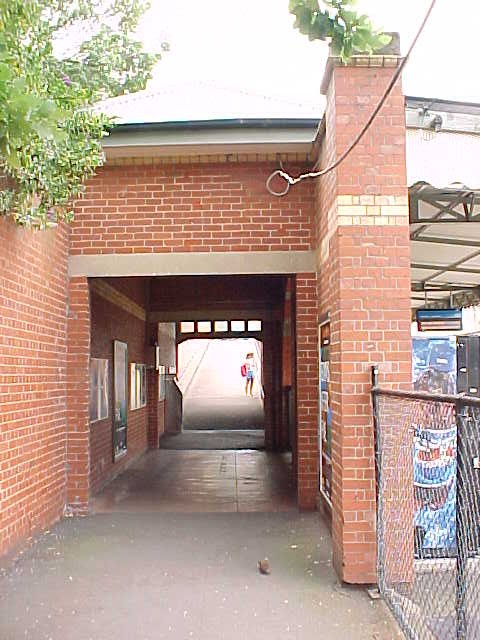
Entrance to DOWN platform from DOWN end looking UP
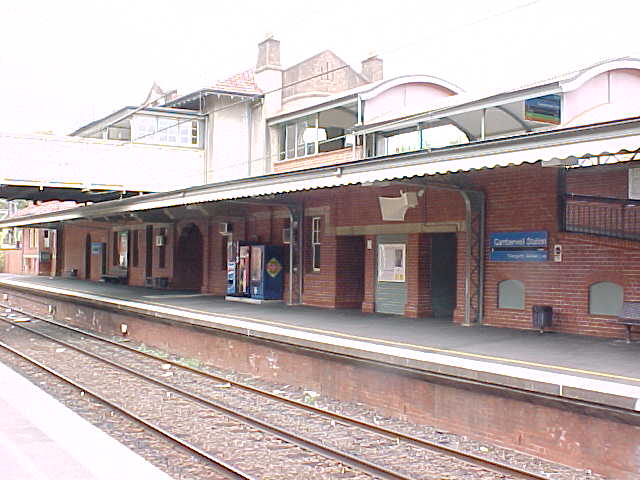
Main station building on Island platform looking DOWN
Footbridge at DOWN end of station looking DOWN
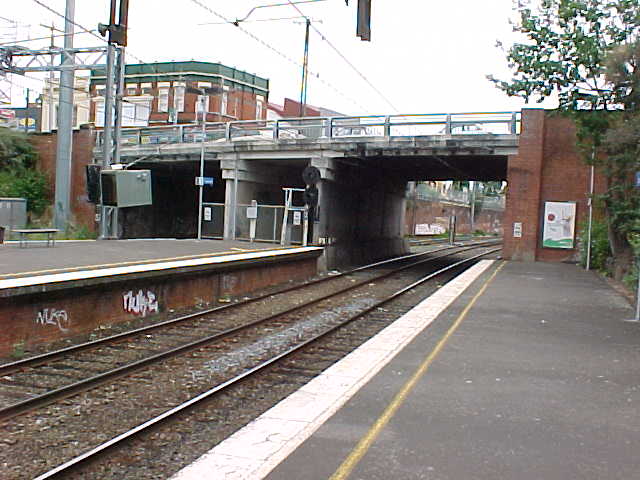
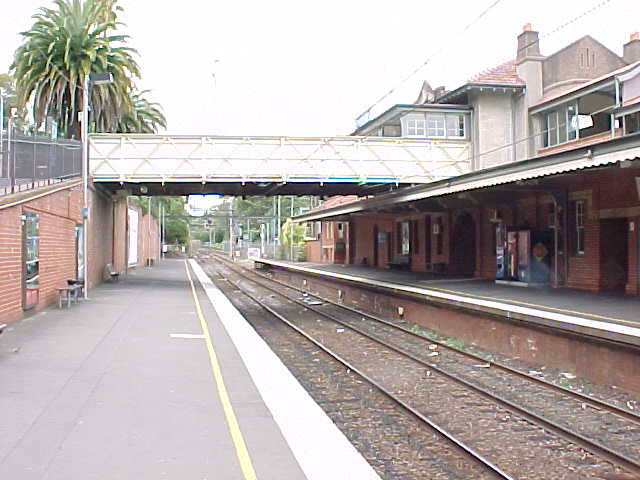
Burke Road bridge at UP end of station looking UP
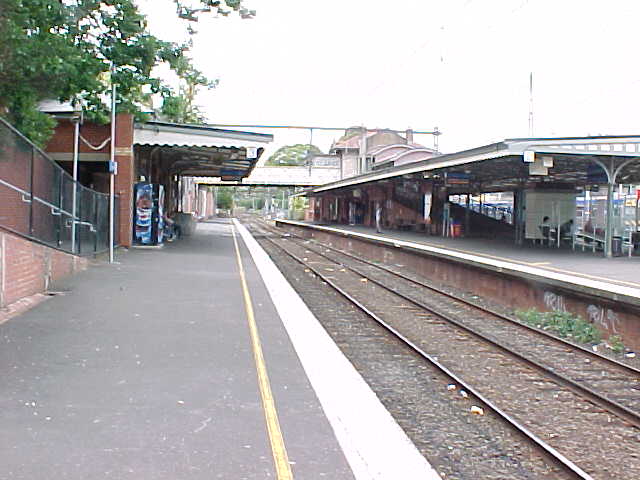
Island platform looking DOWN
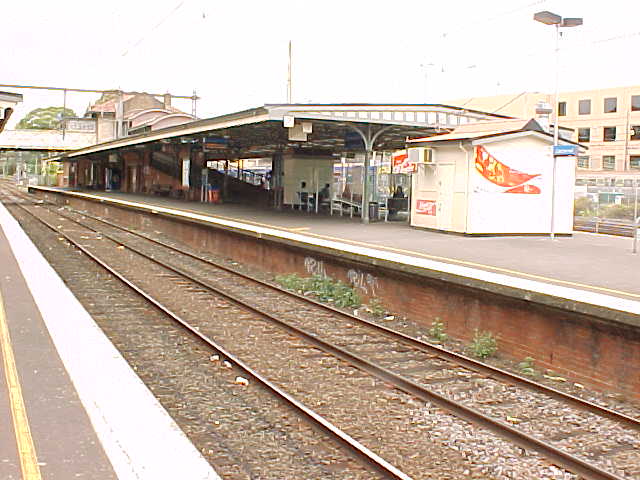
Camberwell Station looking DOWN
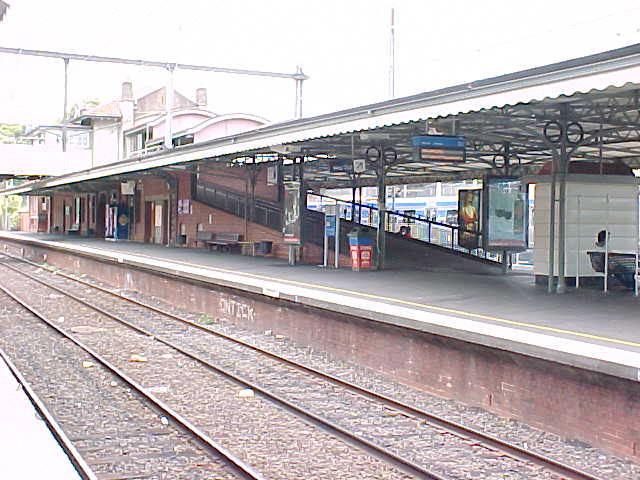
Island platform beneath canopy looking DOWN
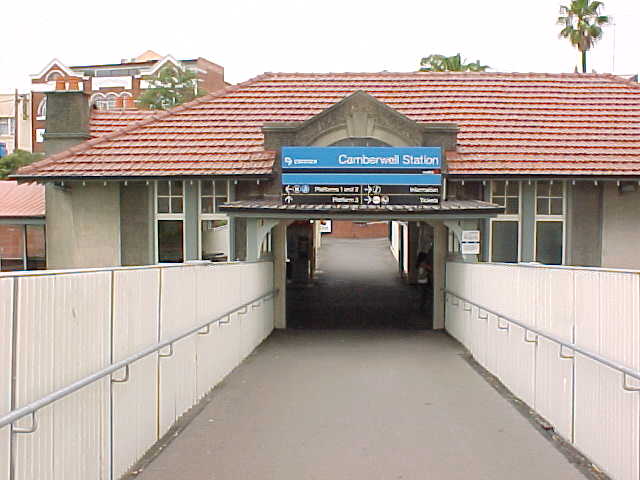
View across footbridge to ticket office
DOWN platform building looking DOWN
Entrance to DOWN platform from Burke Road looking DOWN

Camberwell Station looking DOWN from Burke Road overpass
Camberwell Station island platform looking DOWN from Burke Road overpass
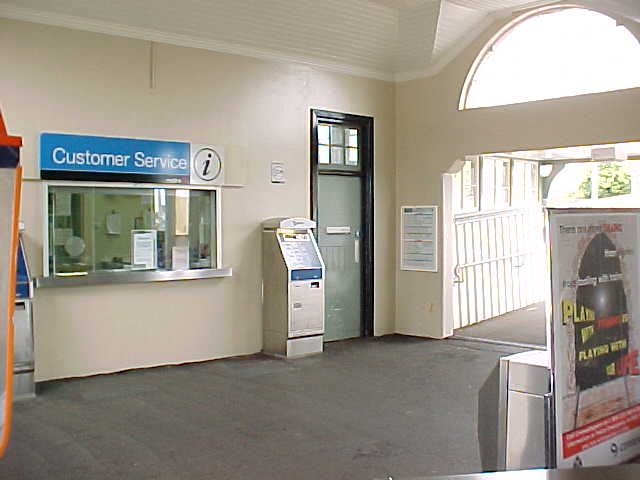
Camberwell Station ticket office on upper level

Ramp down to island platform from ticket office looking UP
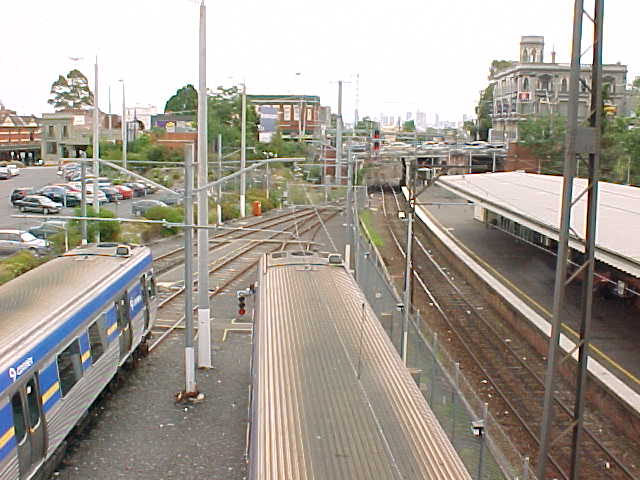
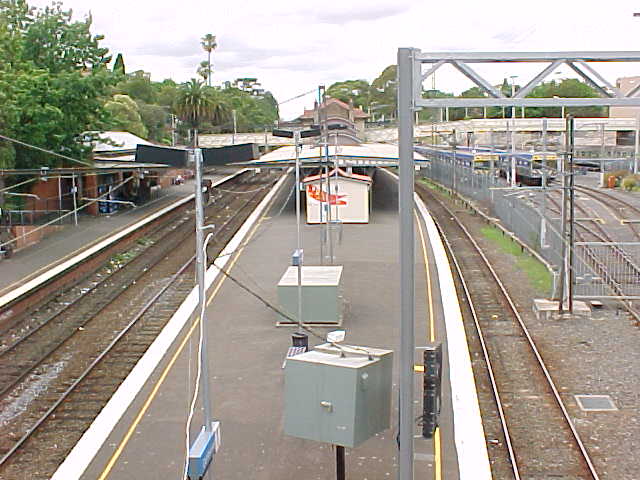
Camberwell sidings looking UP
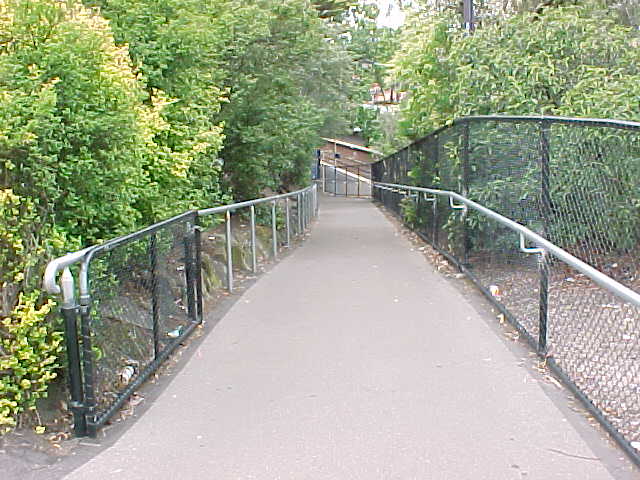
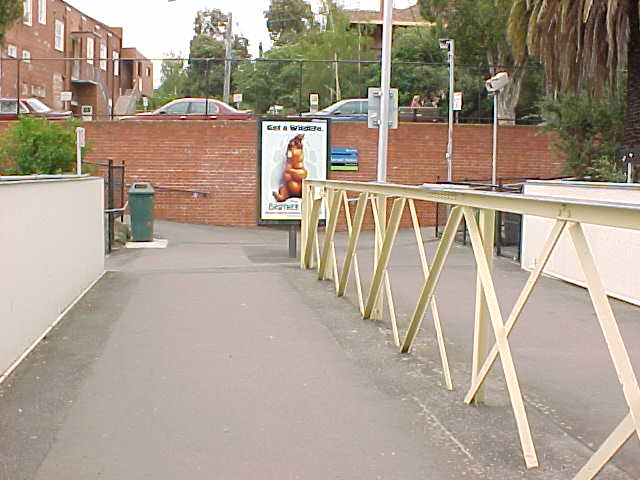
Footbridge across sidings to ticket office
View across footbridge to DOWN platform
Next Station
UP
DOWN (Healesville Line)
DOWN (Outer Circle Line)
Healesville Line