Burnley
Burnley Station contains 2 island platforms with 4 faces and is the junction for the Glen Waverley Line.
The station is generally unstaffed and many services run express through this station during peak periods.
Photos
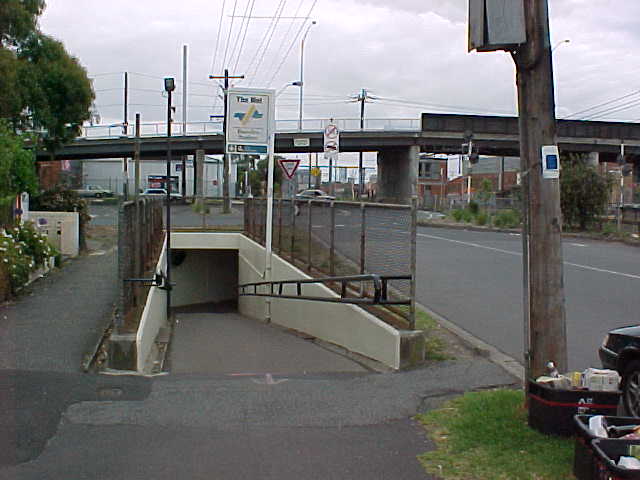
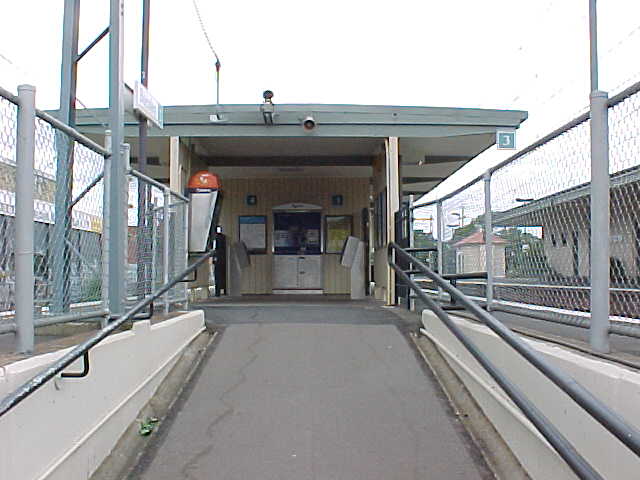
Entrance to Burnley Station subway from Madden Grove
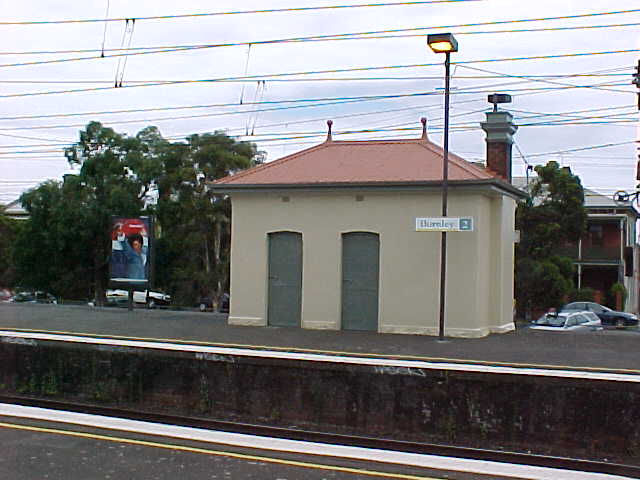
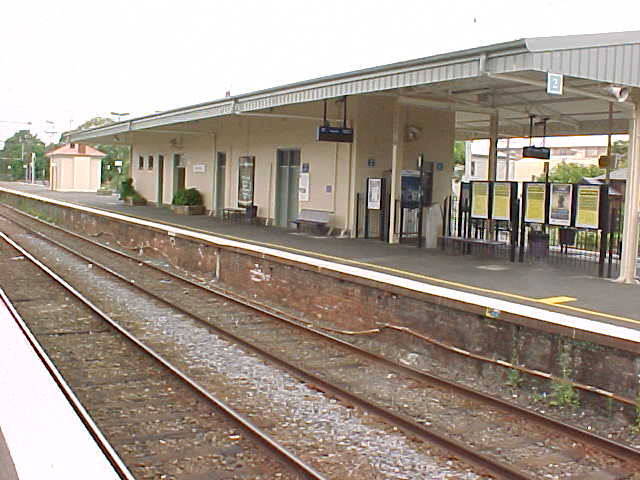
Building at UP end of UP platforms
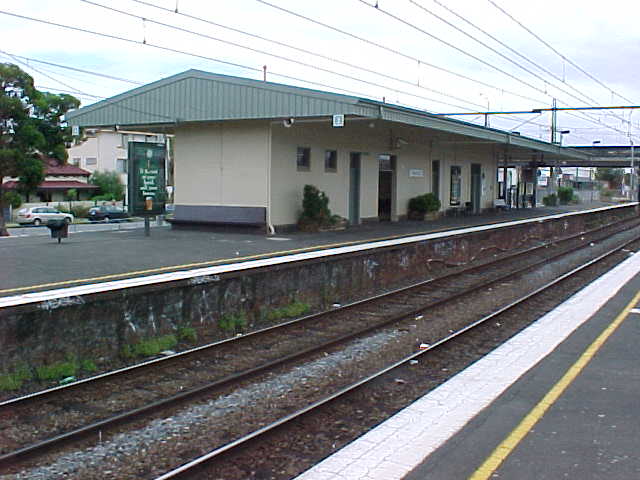
UP platforms station building looking UP
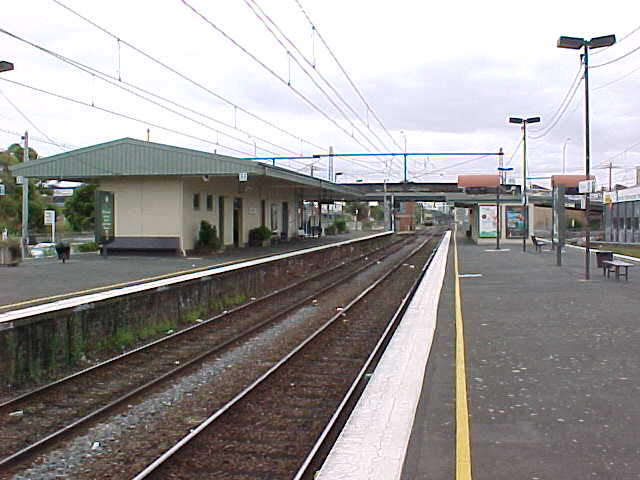
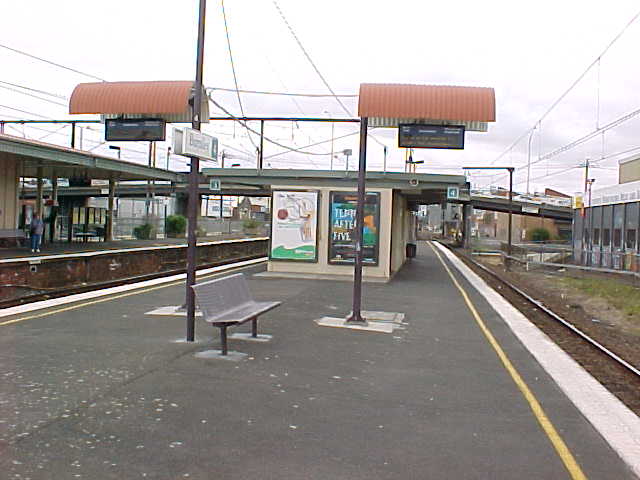
Burnley Station looking UP
UP platorms station building looking DOWN
Entrance to DOWN platforms
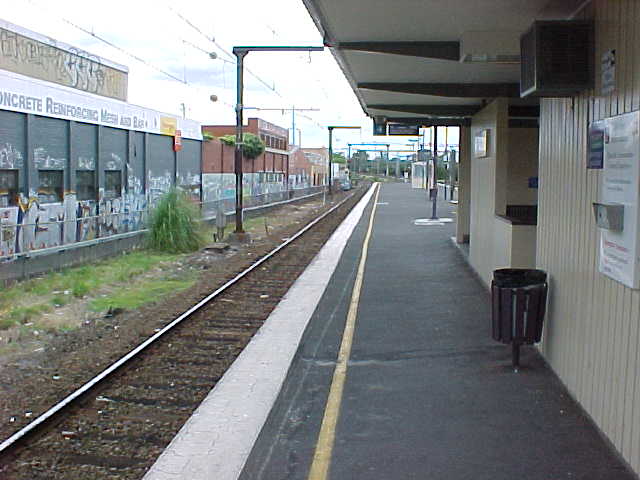
Platform 4 looking DOWN
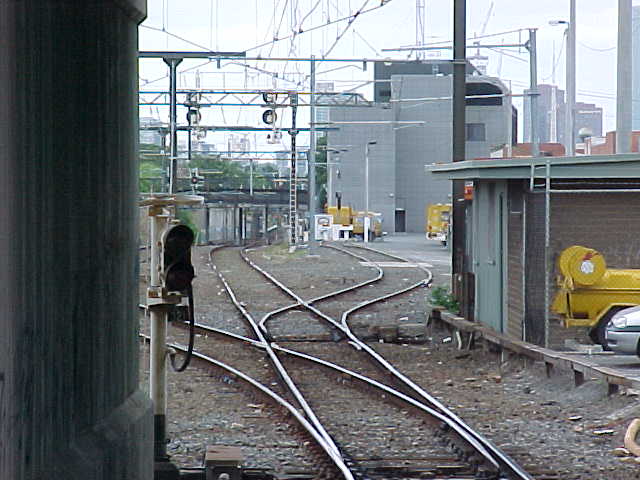
Refuge siding at UP end of station looking UP
DOWN platforms looking UP
Next Station
UP
DOWN (Healesville Line)
DOWN (Glen Waverley Line)
Healesville Line